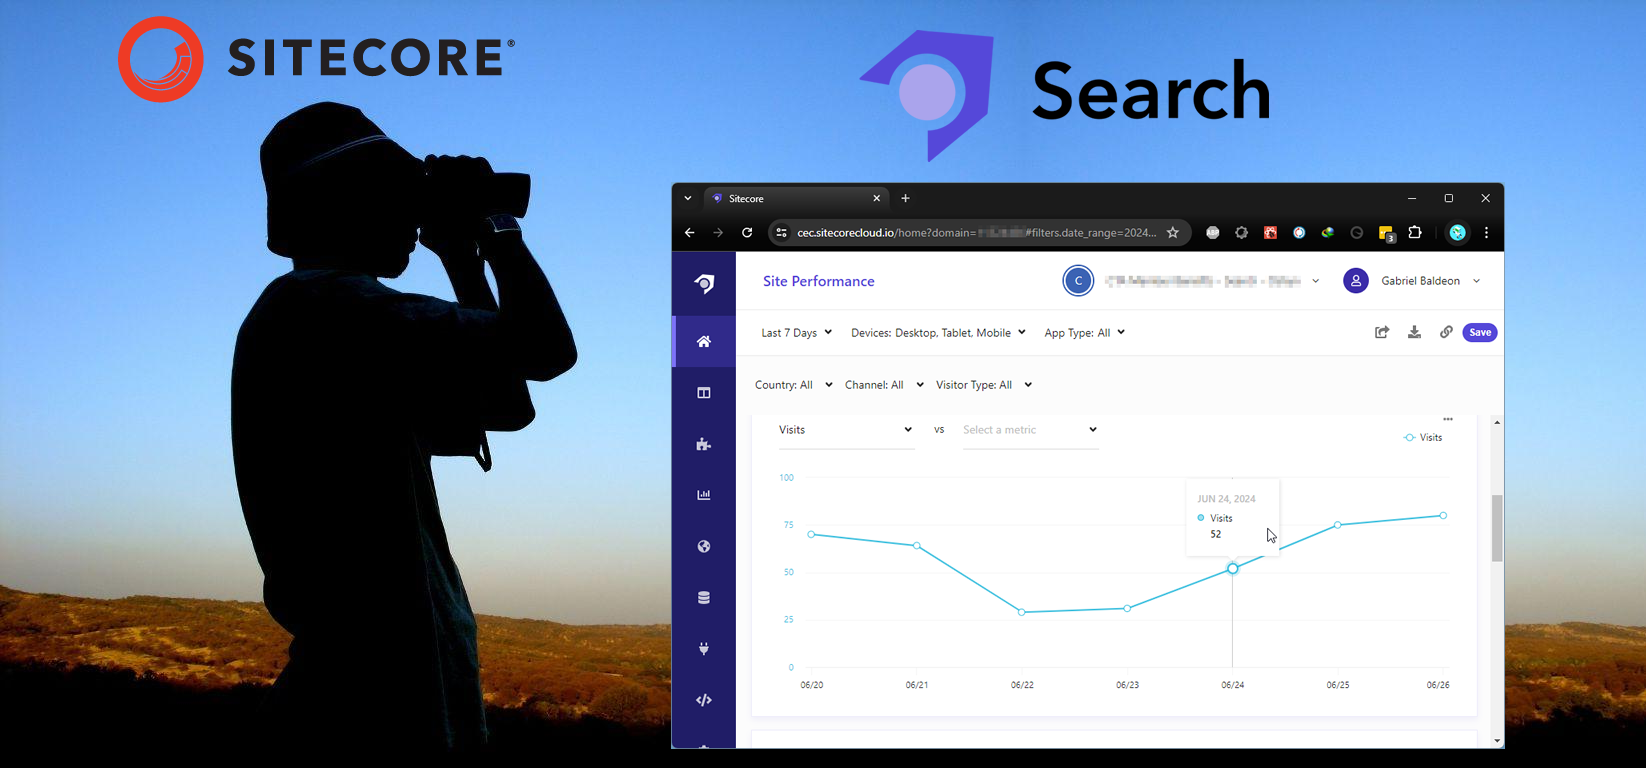
Sitecore Search is a robust tool that allows organizations to manage and optimize search functionality on their websites. One of its key capabilities is indexing, which can be done using Request Triggers, Request Extractors, and Document Extractors. In this guide, we’ll walk you through how to perform indexing using these methods, and we’ll also explore the Customer Engagement Console (CEC).
Understanding Sitecore Search
Before diving into the practical steps, it’s important to understand what Sitecore Search is and why it is beneficial:
- Sitecore Search is a powerful search solution integrated into the Sitecore Experience Platform. It enables users to search and retrieve content efficiently, ensuring relevant results are delivered based on user intent and behavior.
- Indexing in Sitecore Search refers to the process of adding content to a search index, making it searchable. This includes parsing and storing data in a way that allows quick retrieval when users perform searches.
- Request Triggers, Request Extractors, and Document Extractors are advanced features in Sitecore Search that help automate and enhance the indexing process.
Customer Engagement Console (CEC)
The Customer Engagement Console (CEC) is an integral part of Sitecore’s suite of tools designed to enhance customer interactions. It provides a centralized platform for managing customer engagement data and delivering personalized experiences.
- Centralized Data Management: CEC allows marketers and customer service representatives to access a unified view of customer interactions across various channels. This includes web interactions, search analytics, and more.
- Personalization: By leveraging data from CEC, Sitecore can deliver highly personalized content to users, improving engagement and satisfaction.
- Analytics and Reporting: CEC provides robust analytics and reporting tools to track the effectiveness of engagement strategies and make data-driven decisions.
Step 1: Setting Up the Environment
Before starting, ensure you have the following:
- Access to Sitecore CEC: Valid credentials are required to access the Customer Engagement Console
- Access to Sitecore Edge API: Valid credentials are required to authenticate with the API.
- API Testing Tool: Use Postman or any other preferred API testing tool.

Step 2: Create a Source
Creating a content source in Sitecore Search is an essential step for ensuring your content is indexed and easily retrievable. This guide will walk you through the process of setting up a new content source in Sitecore Search.
Access Sitecore CEC
- Log in to your Sitecore CEC
- In the left bar Navigate to the Sources Screen

Create a New Content Source:
- Click on the + Add Source button.
- Provide a name and description for your content source to identify it easily.
- Select API Crawler for the Connector Type and click Save

Step 3: Create a Trigger
- Scroll down to the Triggers Section and click Triggers (To-Do)

- Add a new Trigger with the following settings:
Trigger Type: Request
Body: Build your custom Graphql query to get the items from Experience Edge
{"query": "query { search( where: { AND: [ { name: \"_path\" value: \"{F86E9D79-ACC4-4299-B335-D6273547857A}\" operator: CONTAINS }{ name: \"_hasLayout\", value: \"true\" }{ OR: [{ name: \"_templates\" value: \"{E6638618-6F52-4DD0-A7F4-68E2CDBED4C8}\" operator: CONTAINS }{ name: \"_templates\" value: \"{1E59D7E1-166C-40C7-A7F9-8CB7A4CC7CA7}\" operator: CONTAINS }{ name: \"_templates\" value: \"{43ED15E0-8EF6-46A7-B378-9A4B0F26F119}\" operator: CONTAINS }{ name: \"_templates\" value: \"{ADD256E9-C6AC-4F2B-AAB8-B443DFCE0DBB}\" operator: CONTAINS }{ name: \"_templates\" value: \"{2C697BB5-EAFD-4285-83F7-84B79133993C}\" operator: CONTAINS } ] } ] } first: 1000,orderBy: { name: \"_path\", direction: ASC } ) { total results {name path}} }" }Headers:
Key: Content-Type
Value: application/json
Key: sc_apikey
Value: Get your own value from Sitecore Cloud
Method: Post
URL: https://edge.sitecorecloud.io/api/graphql/v1

Step 4: Create a Request Extractor
- Scroll down to the Request Extractor Section and click Request Extractors (To-Do)

- Provide a Name for the new Request Extractor
- Add a JS code to extract the data for every item in the site
function extract(request, response) {
    var requests = [];
    if (response.body && response.body.data && response.body.data.search && response.body.data.search.results) {
        requests = response.body.data.search.results.map((e) => {
            return {
                url: 'https://edge.sitecorecloud.io/api/graphql/v1',
                method: 'POST',
                headers: {
                    'content-type': ['application/json'],
                    'sc_apikey': ['amhpdVdmSFoxR0tYVnALWY3NWY=']
                },
                body: JSON.stringify({
                    "query":"query getItem($path: String) {item(language: \"en\", path: $path) {id path rendered }}",
                    "operationName":"getItem",
                    "variables":{"path":e.path}
                })
            };
        });
    }
    return requests;
}
Step 5: Create a Document Extractor
- Scroll down to the Document Extractors Section and click Document Extractors (To-Do)

Add a Document Extractor with the following information:
- Name: JsonPath
- Extractor Type: JSONPath
- URLs To Match
- Type: JS
- Source: The following function checks if there is existing data in the headless-main path before extract the information
function match(request, response) {
    return response.body.data.item.rendered != null &&
    response.body.data.item.rendered.sitecore.route.placeholders['headless-main'].length > 0;
}
- Taggers: Create a new Tagger with the following attributes:
- Use XPath to build the selectors for each attribute
Description

Id

Keywords

Name

Url

Step 6: Publish the Source
- Once the items are created you can click the Publish Button in the Source Screen

Step 7: Run the Crawler
- To run the crawler click the reload button

Step 8: Review the Indexed Content
- Navigate to the Content Collection Screen
- Review the total content items indexed


