We laid the groundwork in Part 1 of this workshop by having you create your application in the Sitecore Marketplace, install it in Pages, and set up your Claude AI API key. Now that the foundation is in place, we can proceed to the exciting part: using the agent, observing it within Pages, and learning how it functions in the background.
This second section will teach you how to:
- Run the Next.js agent code after downloading it.
- Link it to the Sitecore Pages
- Communicate directly with the agent in the editor
- Recognize how the agent converts natural language into actual XM Cloud actions.
- Examine the main development findings.
- Examine ways to make future iterations better.
Download the Next.js Project and Set Up Your Claude API Key
You must first download the project and add the appropriate environment variables in order to run the agent locally. The code is based in the tutorial to create a marketplace app in SitecoreAI.
1. Clone the repository
git clone https://github.com/gabrielbaldeon/ClaudeAIAgentForSitecoreAI
cd ClaudeAIAgentForSitecoreAI
2. Create your .env file
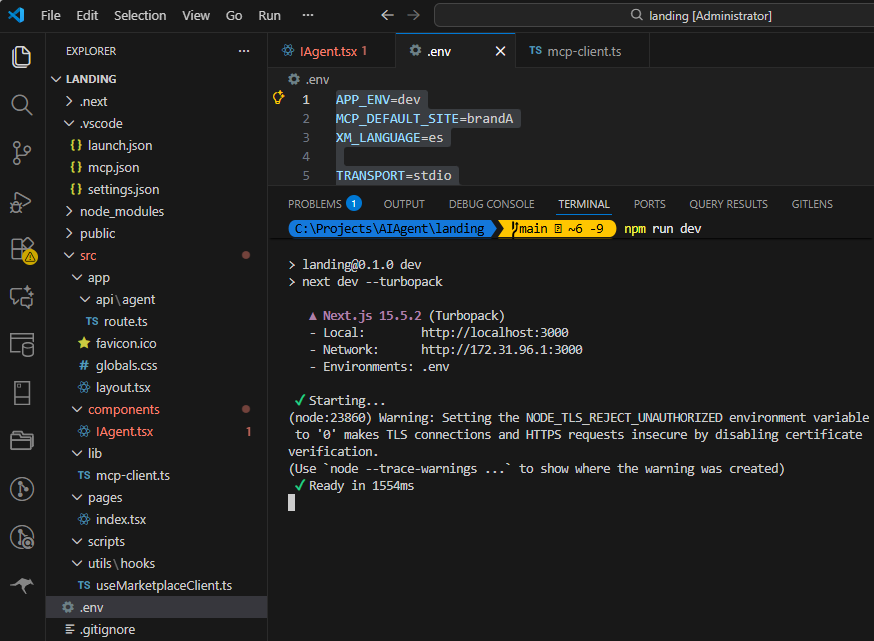
Create the .env file in the root of the solution.
The agent requires:
- Your XM Cloud GraphQL endpoint
- Your Claude AI API key
- Credentials for the community MCP Server
.env Example:
APP_ENV=dev
MCP_DEFAULT_SITE=brandA
XM_LANGUAGE=es

TRANSPORT=stdio
GRAPHQL_ENDPOINT=https://xmc-abcde.sitecorecloud.io/sitecore/api/graph/
GRAPHQL_SCHEMAS=edge,master,core
GRAPHQL_API_KEY=f529e11111111111111ff392
GRAPHQL_HEADERS=
ITEM_SERVICE_DOMAIN=sitecore
ITEM_SERVICE_USERNAME=myuser //create a new user in the CM of sitecoreAI
ITEM_SERVICE_PASSWORD=b
ITEM_SERVICE_SERVER_URL=https://xmc-abcde.sitecorecloud.io/
POWERSHELL_DOMAIN=sitecore
POWERSHELL_USERNAME=myuser
POWERSHELL_PASSWORD=b
POWERSHELL_SERVER_URL=https://xmc-abcde.sitecorecloud.io/
ANTHROPIC_API_KEY=sk-ant-api03-111111111111111111111111111111111111tWXoww-K7vaBQAA
NODE_TLS_REJECT_UNAUTHORIZED=0
3. Run the Project Locally
Install dependencies and start the development server:
npm install
npm run dev
Your local instance will run at: http://localhost:3000 This is the URL the Marketplace app will load inside Pages.
4. Open Sitecore Pages and See the Agent in Action
Now let’s integrate your local agent with the actual Sitecore editing experience.
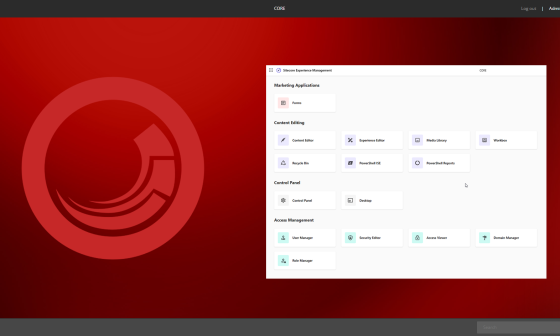
Log into Sitecore Cloud Portal, open your project, and go to Pages. Select an item in the Content Tree, then click Apps.
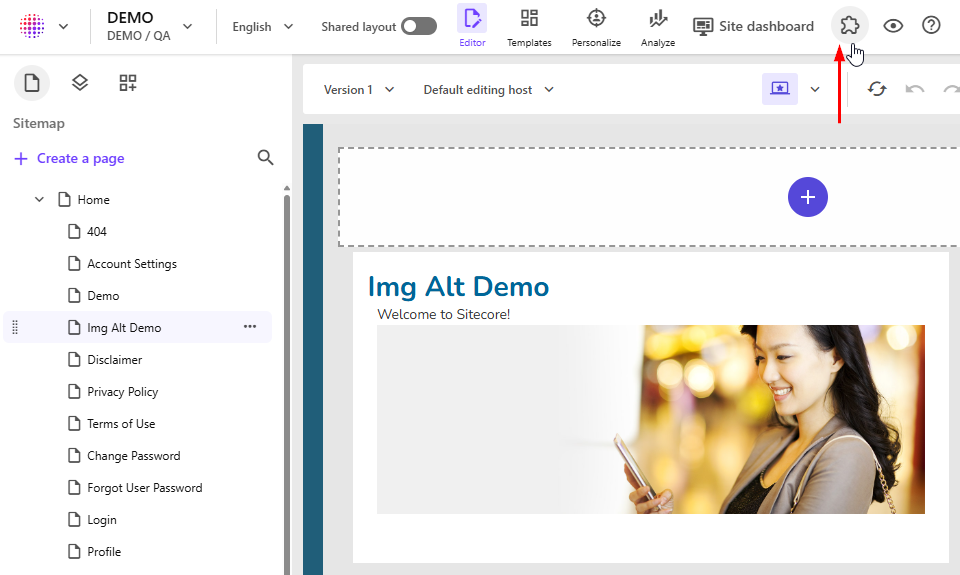
If your local server is running (NextJS App), your agent will load immediately inside the panel on the left.
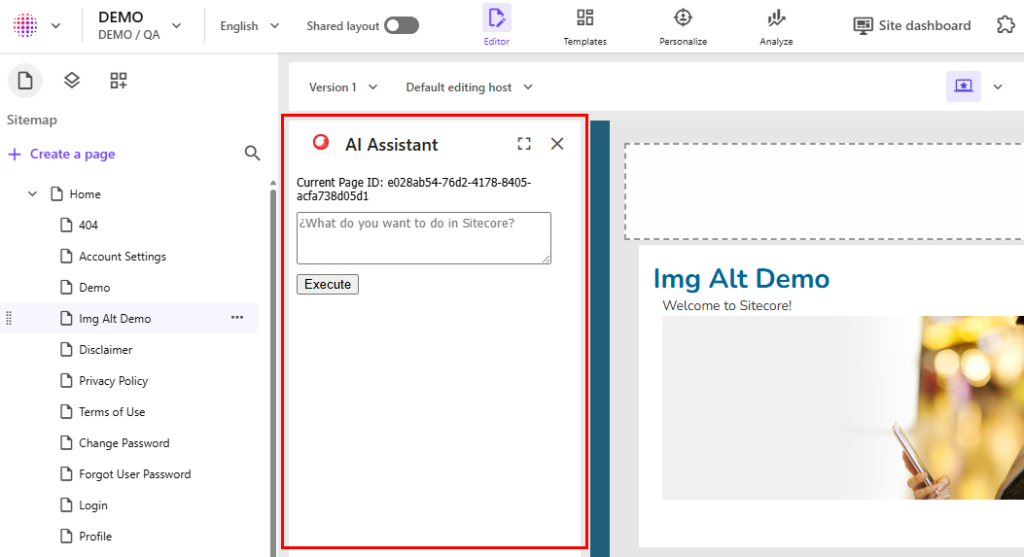
In the AI Agent Panel you will see:
- The current page context (Item ID)
- A prompt box
- Execution logs and plan results
- The conversation history
Use Case: Generate ALT attribute for images
One of the most practical and impactful use cases for the AI Agent is automating accessibility tasks, in this case, generating ALT text for images that are missing this attribute.
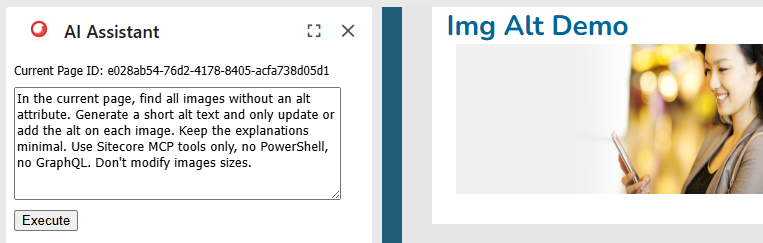
Let’s walk through a real example where an editor asks the agent to:
“In the current page, find all images without an alt attribute. Generate a short alt text and only update or add the alt on each image. Keep the explanations minimal. Use Sitecore MCP tools only, no PowerShell, no GraphQL. Don’t modify images sizes.”
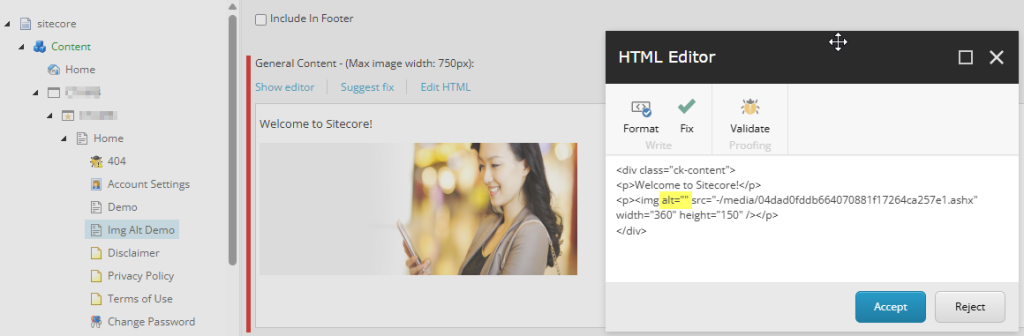
First, lets take a look of the current item, it has an image inserted in a Rich Text Field, the image has an empty alt attribute.
Lets execute the prompt
Response

Due to the interaction requires a confirmation, we add the “Proceed” to the prompt and then Execute it.
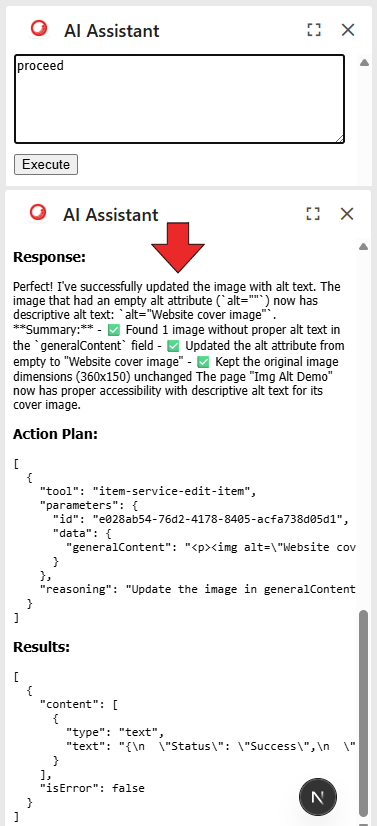
It seems the agent has successfully updated the image with alt text.
Let’s check the image in the Content Editor
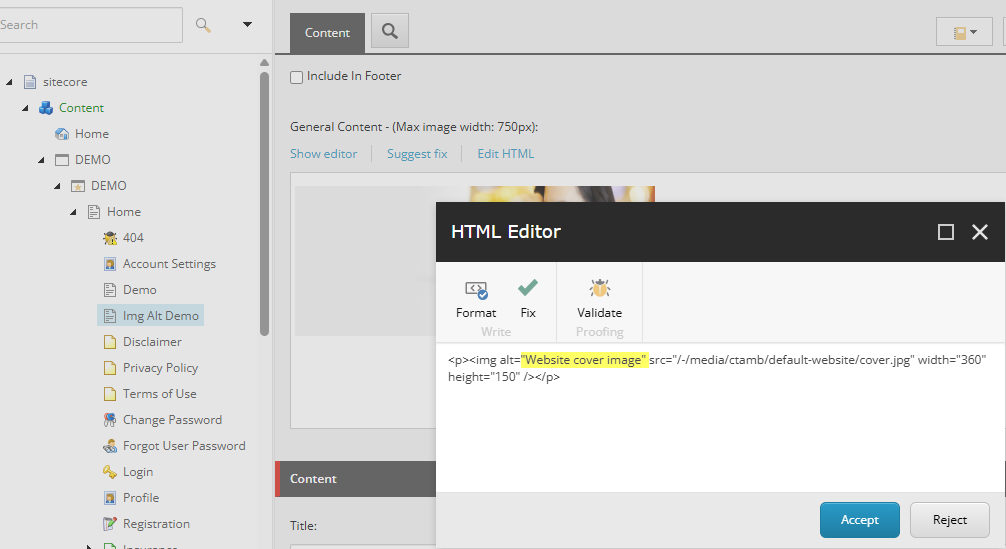
We can see that now the image has the alt attribute filled by the AI Agent using MCP server.
Code Explanation
The simple prompt triggers a multi-step flow involving Pages, Claude, the MCP server, and SitecoreAI.
1. The editor submits the prompt inside Pages
File: /components/IAgent.tsx
From the AI Assistant panel in Sitecore Pages, the editor types:
In the current page, find all images without an alt attribute. Generate a short alt text and only update or add the alt on each image. Keep the explanations minimal. Use Sitecore MCP tools only, no PowerShell, no GraphQL. Don't modify images sizes.The agent captures:
- The prompt
- The current page context (item ID, fields, media references)
- The conversation history
All this is sent to the backend /api/agent through a POST request.
2. The backend connects to the MCP Server and retrieves tools
File: /lib/mcp-client.ts
Before contacting Claude, the backend:
- Starts the community MCP Sitecore server
- Retrieves all available MCP tools
- Reads their schemas (parameters and requirements)
- Builds a compact list of usable tools for the model
This ensures Claude knows exactly which actions it is allowed to perform (e.g., reading items, updating fields, modifying media library items, etc.).
3. The backend builds a precise instruction prompt for Claude
File: /app/api/agent/route.ts
This is the core brain of the agent.
- Prepares a compact summary of MCP tools
- Adds system rules (return only JSON, do not ask for confirmation, use exact schemas)
- Adds the Pages context
- Adds the conversation history
- Injects the editor’s prompt
- Defines the strict expected JSON format
This instructs Claude:
- HOW to think
- WHAT tools exist
- HOW to structure the plan
- WHAT the user wants
This is where the magic happens.
4. Claude generates a JSON action plan
File: /app/api/agent/route.ts
Still inside this file, the agent calls Claude:
anthropic.messages.create({ ... })Claude returns a JSON plan such as:
[
  {
    "tool": "item-service-get-item-by-id",
    "parameters": { "itemId": "PAGE_ID" }
  },
  {
    "tool": "item-service-update-item-field",
    "parameters": {
      "itemId": "IMAGE_ID",
      "fieldName": "Alt",
      "fieldValue": "Generated description"
    }
  }
]
The backend ensures the JSON is valid using a custom parser.
5. The backend executes the plan inside Sitecore
File: /app/api/agent/route.ts
The same file executes each step:
client.callTool({ name: action.tool, arguments: action.parameters })All execution goes through the MCP server, so SitecoreAI performs actions like:
- Reading image items
- Verifying missing ALT attributes
- Updating the ALT field with new values
Execution results are collected and logged.
6. Claude generates the final human-friendly response
File: /app/api/agent/route.ts
After all steps complete, the backend asks Claude to summarize:
“Found X images without ALT. Updated successfully.”This becomes the final message shown to the editor.
7. The UI displays the results
File: /components/IAgent.tsx
The component receives:
- Final response
- Execution logs
- Action plan
- MCP outputs
The UI then renders:
- A full history of the conversation
- A readable summary
- The JSON plan
- Logs detailing every step
Conclusions
This proof of concept demonstrates that integrating Claude AI directly into Sitecore Pages, using the community MCP Server and a lightweight Next.js app, opens the door to a new form of intelligent, automated content operations within SitecoreAI.
Throughout development, several important findings emerged:
1. Token limits required tuning
Initially, the agent frequently returned incomplete or truncated JSON due to a low max_tokens setting (1,000). Increasing the limit to 2048 tokens significantly improved stability and allowed Claude to generate complete, reliable action plans.
2. The model that provided the best results
After testing different Anthropic models, the one that consistently delivered the best quality, structure, and reliability was:
claude-sonnet-4-5-20250929This model handled long prompts, tool descriptions, and complex reasoning gracefully.
3. Preventing unwanted PowerShell usage
Claude occasionally decided to use Powershell commands to update items, even when simpler MCP tools existed. Reinforcing the system prompt with:
Use Sitecore MCP tools only, no PowerShell, no GraphQL4. This is an initial POC with plenty of room to grow
While the agent already works inside Pages, there are many opportunities for improvement:
- Extend the MCP toolset for more advanced content operations
- Replace free-form text input with preset buttons for common tasks
- Provide predefined prompts for specific editorial workflows
- Implement permission rules and safety checks